What digitising actually does to a logo
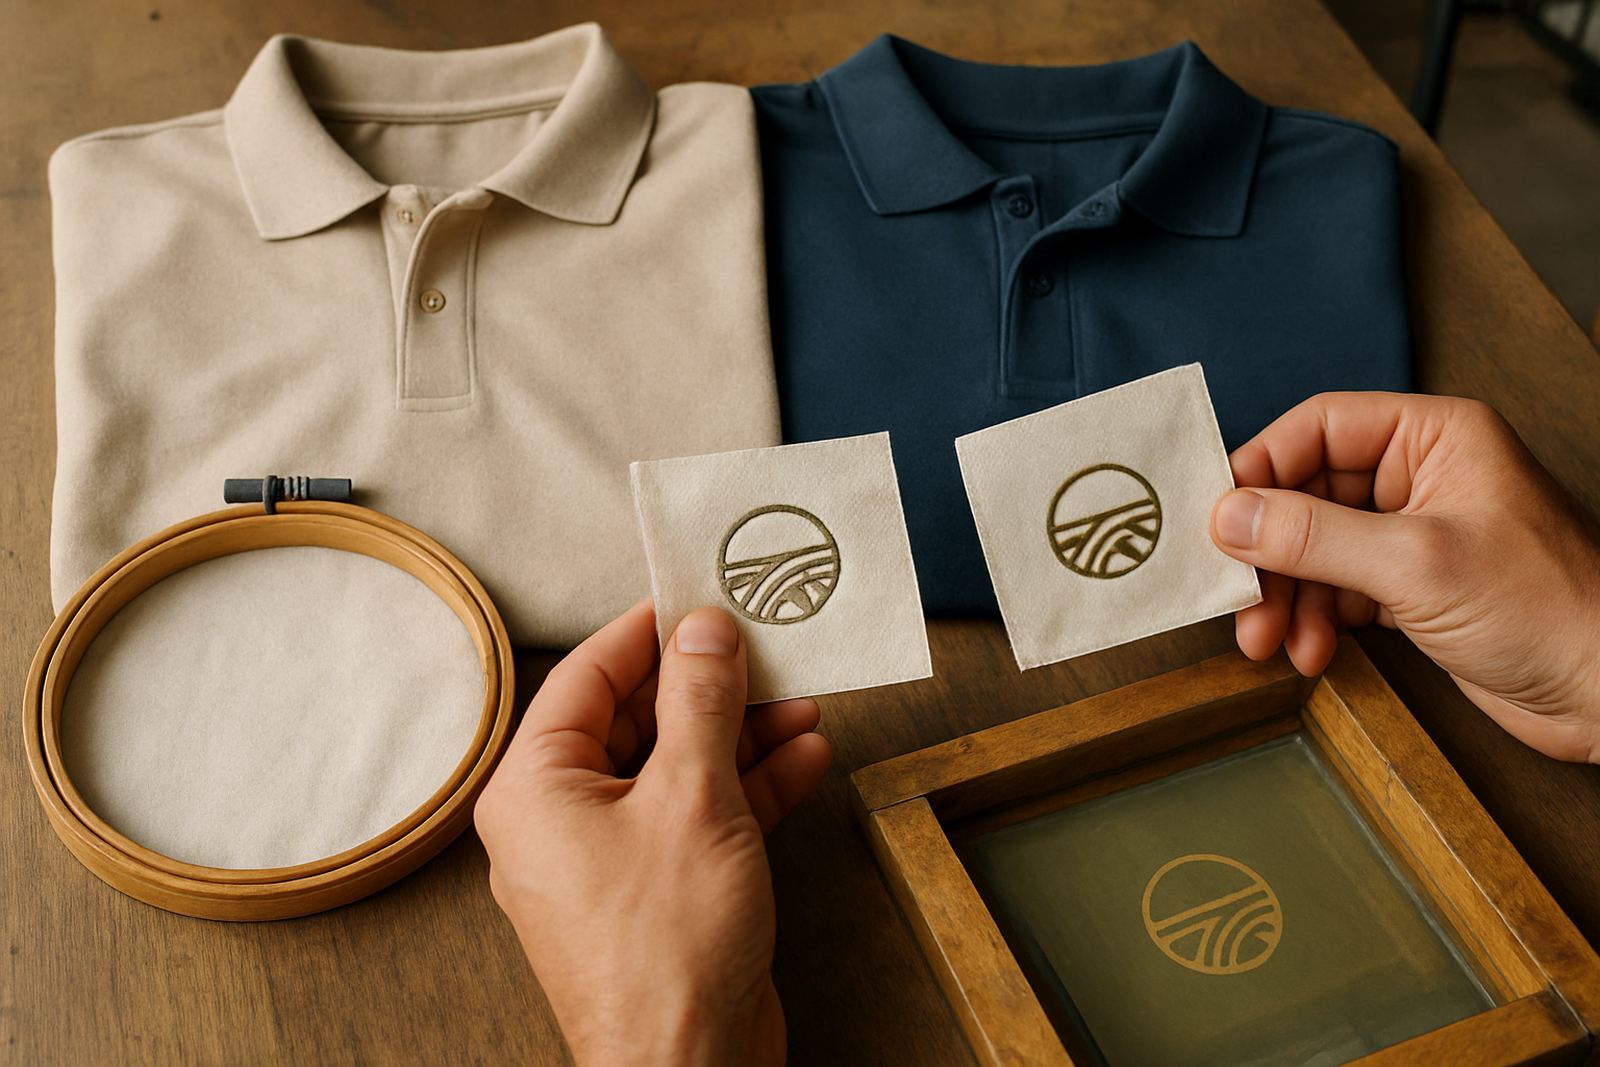
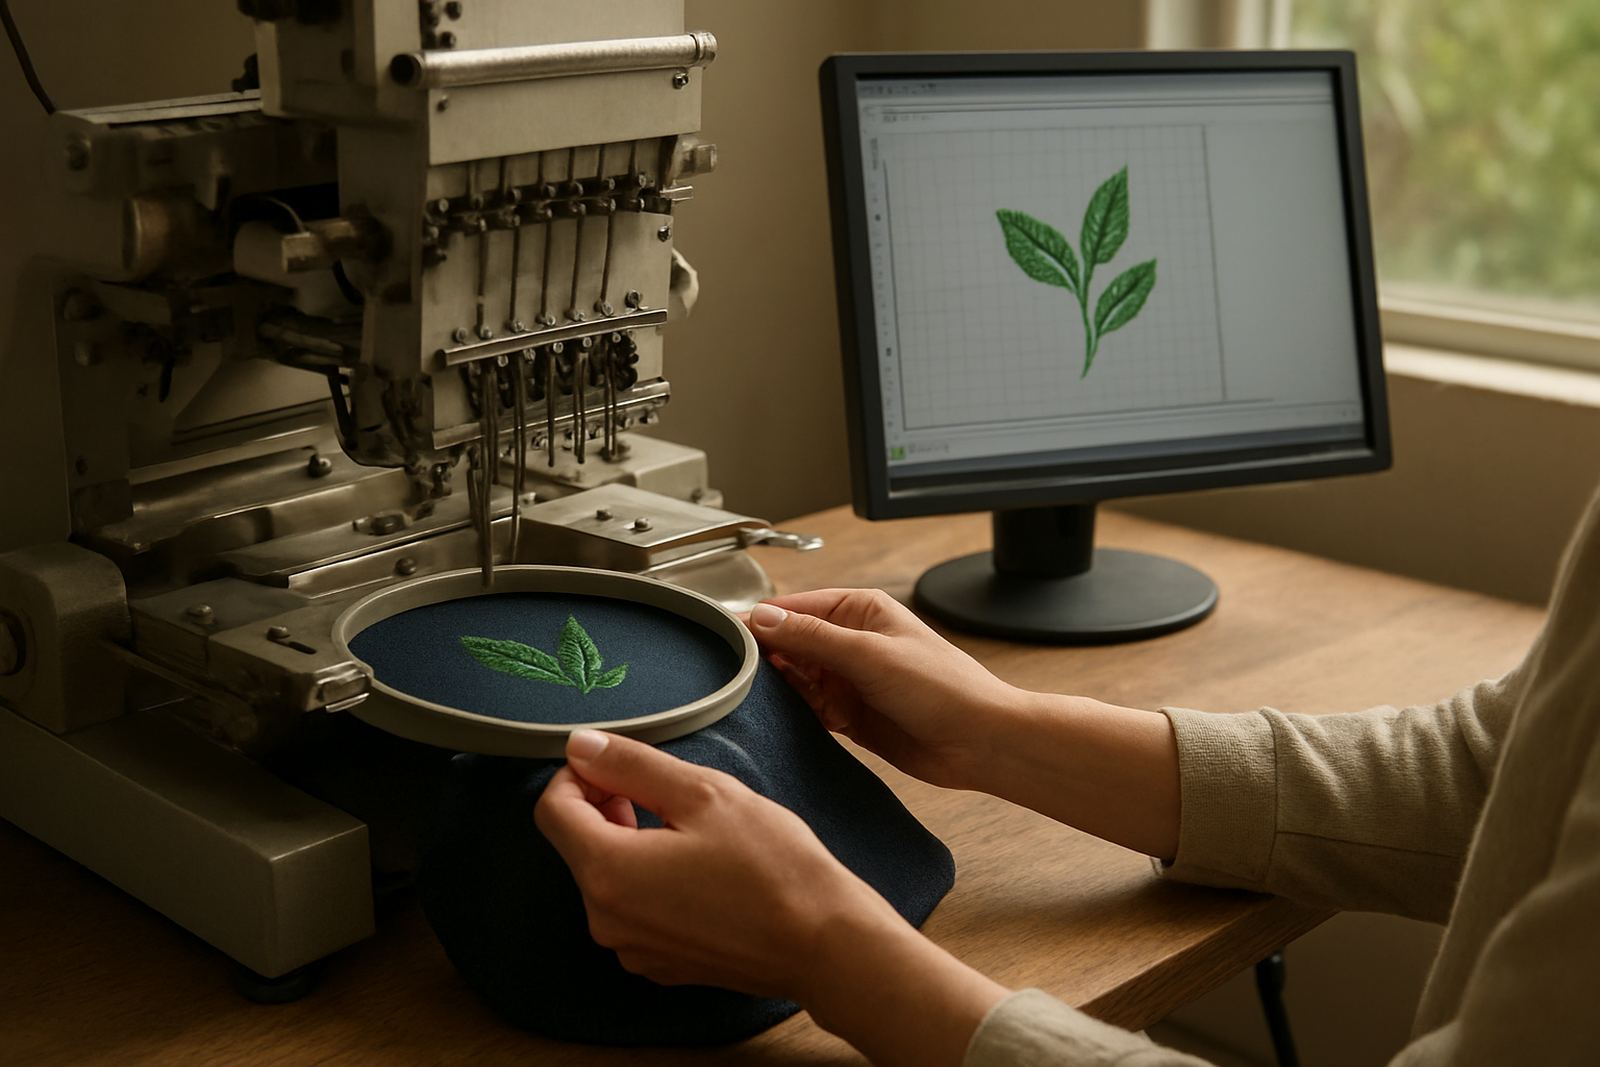
Digitising is the process of converting artwork into a stitch file that an embroidery machine can read. It is not a simple scan or resize. The digitiser maps out stitch direction, density, underlay, pull compensation and the order of each section so the logo comes out neat on fabric, not just on a screen.
That matters because embroidery behaves differently from print. A solid block of colour may look fine in artwork, but on a golf shirt it needs the right stitch angle and spacing to prevent puckering, gaps or thick clumps of thread. When the file is prepared properly, the logo sits flatter, reads cleaner and lasts longer after washing.
Why stitch quality depends on the file, not only the machine
Many people think a modern machine can fix any design. In practice, the machine only follows instructions. If the digitising is weak, even a good machine will struggle with small text, thin lines or detailed crests. Poor stitch order can also leave thread breaks, loose edges or uneven fills.
For corporate wear and school uniforms, consistency is just as important as appearance. A jacket ordered in May and another ordered in October should look the same. Good digitising gives you repeatable results across bulk orders, whether the fabric is cotton, polycotton, pique knit or a heavier workwear cloth.
- Small lettering needs careful spacing so it stays readable.
- Dense logos need balanced fill stitches to avoid stiff patches.
- Fine outlines need proper underlay so they do not sink into the fabric.
- Different garments may need separate stitch settings for the best finish.
How fabric choice changes the digitising approach
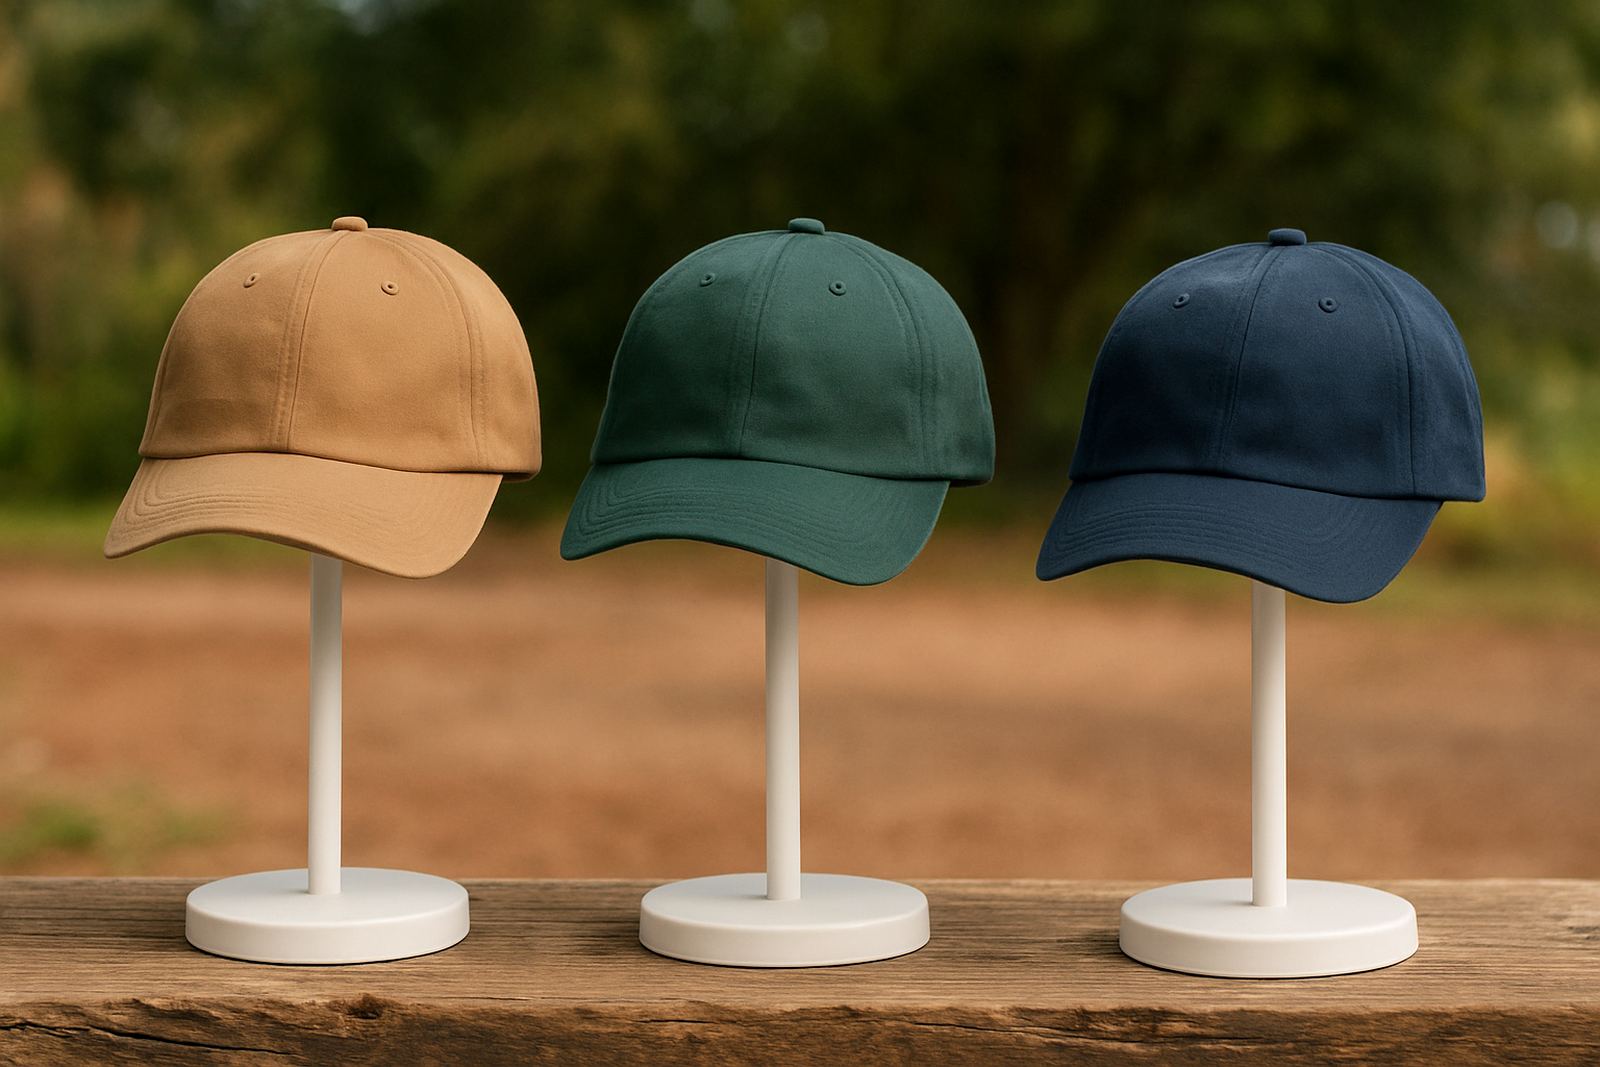
Not every garment behaves the same. A golf shirt stretches more than a hard-wearing work shirt. A cap has seams and a curved panel, while a soft jacket may move differently under the needle. The digitiser has to plan for that from the start, otherwise the logo can distort or the edges can lift after a few washes.
In Durban and along the coast, humidity can also affect stock handling and finishing. Garments may shift slightly when stored in damp conditions, and that can show up in production if the artwork was not set up with enough compensation. For that reason, we treat embroidery digitising as a practical production step, not just artwork prep. It saves time later and helps avoid redoing jobs that should have been right the first time.
The difference between a neat logo and one that keeps its shape
A logo that looks tidy on day one should still look tidy after regular wear and washing. That is where underlay, stitch direction and edge control matter. Underlay supports the top stitches. Stitch direction helps shape letters and shading. Edge control keeps borders from spreading or pulling in.
If those details are ignored, the logo may start to look bulky, crooked or blurred. This is especially noticeable on left chest branding, where a small size leaves very little room for error. A company shirt with a 70 mm logo needs tighter control than a large back print, because every stitch counts.
- Use tighter settings for small text and emblems.
- Adjust stitch density for stretch fabrics and lighter shirts.
- Check the logo at actual size before production starts.
- Keep a saved file so reorders match the first run.
Why in-house digitising helps with rush orders and reorders
When digitising is handled in-house, changes can be made quickly. That helps when a club needs caps for an event in Hillcrest, or a school in Westville needs extra uniforms before sports day. It also helps when a business wants one artwork version for embroidery and another for screen printing or heat press printing.
With in-house control, the same team can check the artwork, prepare the stitch file and move the job into production without delay. That reduces back-and-forth and makes it easier to manage sample runs, bulk orders and rush orders. It also means the digitising specialist can speak directly with the production and print room teams, which keeps the final result closer to the original brief.
A local example from a Durban North order
Imagine a small company in Umhlanga ordering embroidered golf shirts for staff and caps for a weekend promotion. The logo has thin lettering, a crest and a slogan under it. On paper, it looks simple. On fabric, the slogan may become too fine to sew neatly unless the digitising is adjusted for size and stitch direction.
In that kind of order, the file might be tested on one shirt first, then checked for balance and readability before the rest are run. If the cap version needs a different layout from the shirt version, that is set separately. That is the kind of practical work that protects the final result and saves money over time, because fewer garments are wasted and the brand stays consistant across every item.
What to ask for before you approve embroidery
If you are ordering branded clothing or promotional items, ask to see how the logo will be set up for embroidery before the full run begins. A good supplier should be able to explain what will happen to small text, fine lines and colour blocks, and should be willing to do a sample where needed.
- Will the logo be digitised specifically for the garment type?
- Can the design be adjusted for caps, shirts and jackets separately?
- Will you get artwork checks before production starts?
- Can a sample run be done for approval on important orders?
That kind of process is useful for businesses, clubs and schools across Durban North, La Lucia, Mount Edgecombe, Umhlanga, Ballito, Pinetown, Westville and Hillcrest. It keeps expectations clear, and it helps the final embroidery match the purpose of the garment whether it is for daily wear, an event or a one-off promotion.