
Why fleece needs a different embroidery approach
Fleece is thick, soft and slightly stretchy, which means embroidery cannot be treated like a simple surface stitch on cotton. The pile gives the needle more resistance, so a logo that looks sharp on a golf shirt can sink, pucker or distort on a fleece if the digitising is not adjusted properly.
For winter workwear, club hoodies, zip-through fleece tops and school outerwear, the main aim is to keep the logo readable without making the garment stiff. That balance matters in Durban too, where early mornings can be cool in places like Hillcrest yet the day warms up quickly. A fleece that feels too heavy at the chest or sleeve is unlikely to be worn often.
We usually start by looking at the garment weight, the fleece finish and where the logo will sit. A chest logo on a smooth anti-pill fleece is usually easier than embroidery on a deep pile fleece, because the needle can settle better and the stitches stay cleaner.
Logo size, stitch count and where the design should sit
On fleece, smaller is not always better. Tiny lettering can close up once the pile lifts around the stitches, while oversized logos may become too dense and make the fabric pull. The right size depends on the shape of the logo, the garment size range and how the item will be used day to day.
Good placement also helps the result last longer. A logo too close to a seam, zip or pocket will not sew evenly, and it can feel awkward when the garment is worn. On corporate fleece jackets, a left chest position is still the most common choice, while larger club logos often work better on the back panel.
- Keep fine text bold enough to remain legible after stitching
- Allow space from zips, seam lines and pocket edges
- Match the logo size to the thickness of the fleece
- Use a layout that suits both small and large garment sizes
If the design is highly detailed, it may need simplification before embroidery. That is not a downgrade, just a practical step so the finished item looks tidy from a distance and does not turn into a bulky patch of thread.
Digitising fleece artwork the right way
Digitising is where a logo is converted into stitch instructions, and on fleece this step makes a big difference. The stitch direction, underlay and pull compensation all need to be set with the fabric in mind, because fleece behaves differently once the needle starts moving.
At EMB Designs, in-house digitising gives us more control over this process. A logo for a school sports fleece in Umhlanga may need a lighter stitch build than a trade company fleece heading out to Pinetown, even if the artwork is the same. That is because different garments and uses call for different levels of durability and detail.
We also check whether the artwork is suited to the thread colours available and whether small elements should be adjusted before production begins. When digitising is handled properly, the stitch work lies flatter, the edges stay cleaner, and the fleece keeps a softer feel.
- Use underlay to support the surface before the top stitches go in
- Adjust pull compensation so letters do not shrink inwards
- Reduce very fine detail that will not hold on thick fabric
- Test the design on a sample before full production where possible
Backing, hooping and pile control on thicker garments
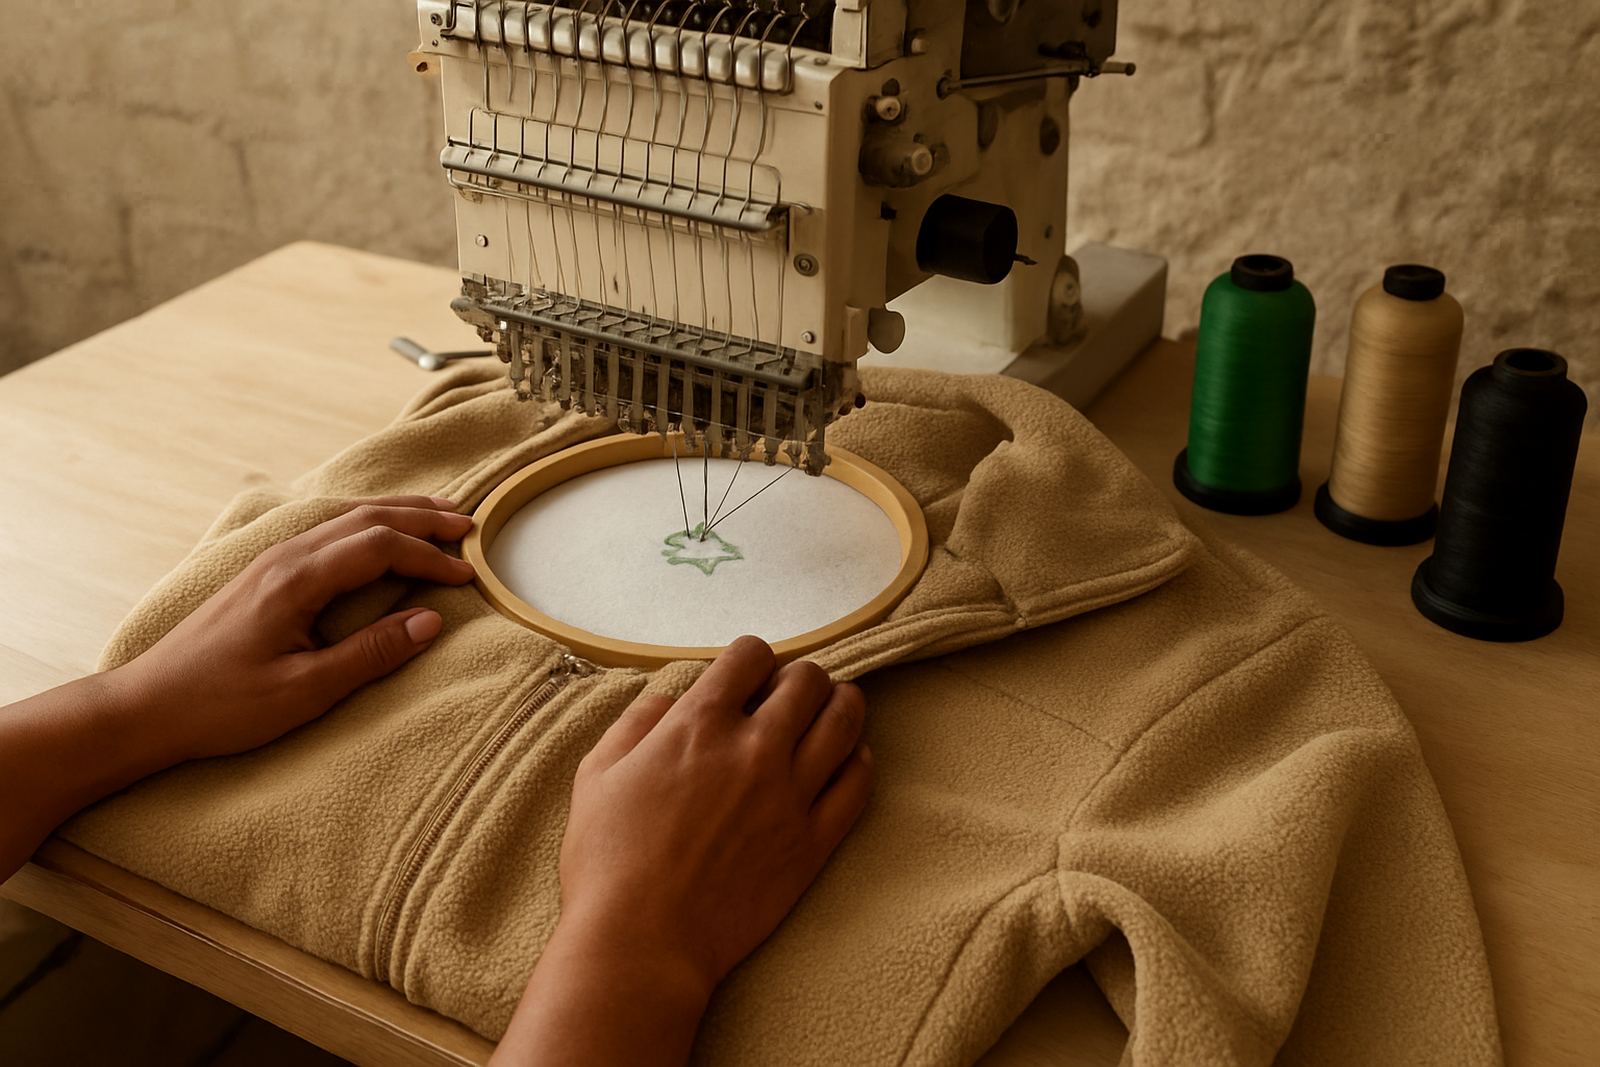
Backing is essential on fleece. Without proper support, the stitches can sink into the fabric and the logo loses definition. A suitable backing helps the embroidery sit on top of the garment instead of disappearing into the fibres, especially on heavier winter items.
Hooping also needs care. If the fleece is pulled too tightly, the garment can distort and the logo may sit crooked once removed from the hoop. If it is too loose, the embroidery can shift while stitching. A careful setup makes the difference between a crisp result and one that needs to be redone.
Because fleece has a soft surface, controlling the pile around the embroidery area is important. A gentle topping layer may be used on some garments to keep stitches visible and prevent them from sinking. This is especially useful on darker colours where thread contrast matters more.
In the humid Durban coastal air, garments also need to be handled and packed correctly after stitching so they do not hold excess moisture. That matters for bulk orders, particularly where delivery is going to schools or offices that need clean stock ready for issue.
Choosing thread colours and finishes that suit the garment
Thread colour should do more than match a logo on paper. On fleece, the surface texture can dull lighter shades slightly, so contrast and visibility need to be checked against the actual garment colour. A navy logo on a charcoal fleece may disappear, while a bright white or red may read much better.
Finish also matters. A matte look can suit a work fleece, while a slightly shinier thread may suit presentation wear or promotional garments. The key is to keep the logo legible without making it look overstated.
For business uniforms, it is often worth choosing a thread palette that stays consistent across fleece, golf shirts and caps. That way the branding feels joined up across the whole outfit, which is useful when a company wants staff to look coordinated from head office in Durban North through to branches in Ballito or Westville.
Rush orders, sample runs and care after embroidery
Fleeces are often ordered for winter campaigns, school events, team tours and staff issue at short notice. When a rush order comes in, the safest route is to keep the design clean and avoid overcomplicating the stitch plan. Optional 24-hour turnaround can be possible on certain runs, but only if the garment type and artwork are suitable for quick production.
Sample runs help avoid costly mistakes, especially on larger bulk orders. A single test piece shows how the logo will sit, how the thread colour reads and whether the backing needs changing. This is particularly useful for clubs and schools placing repeat orders, because fleece sizes and brands can vary from one batch to the next.
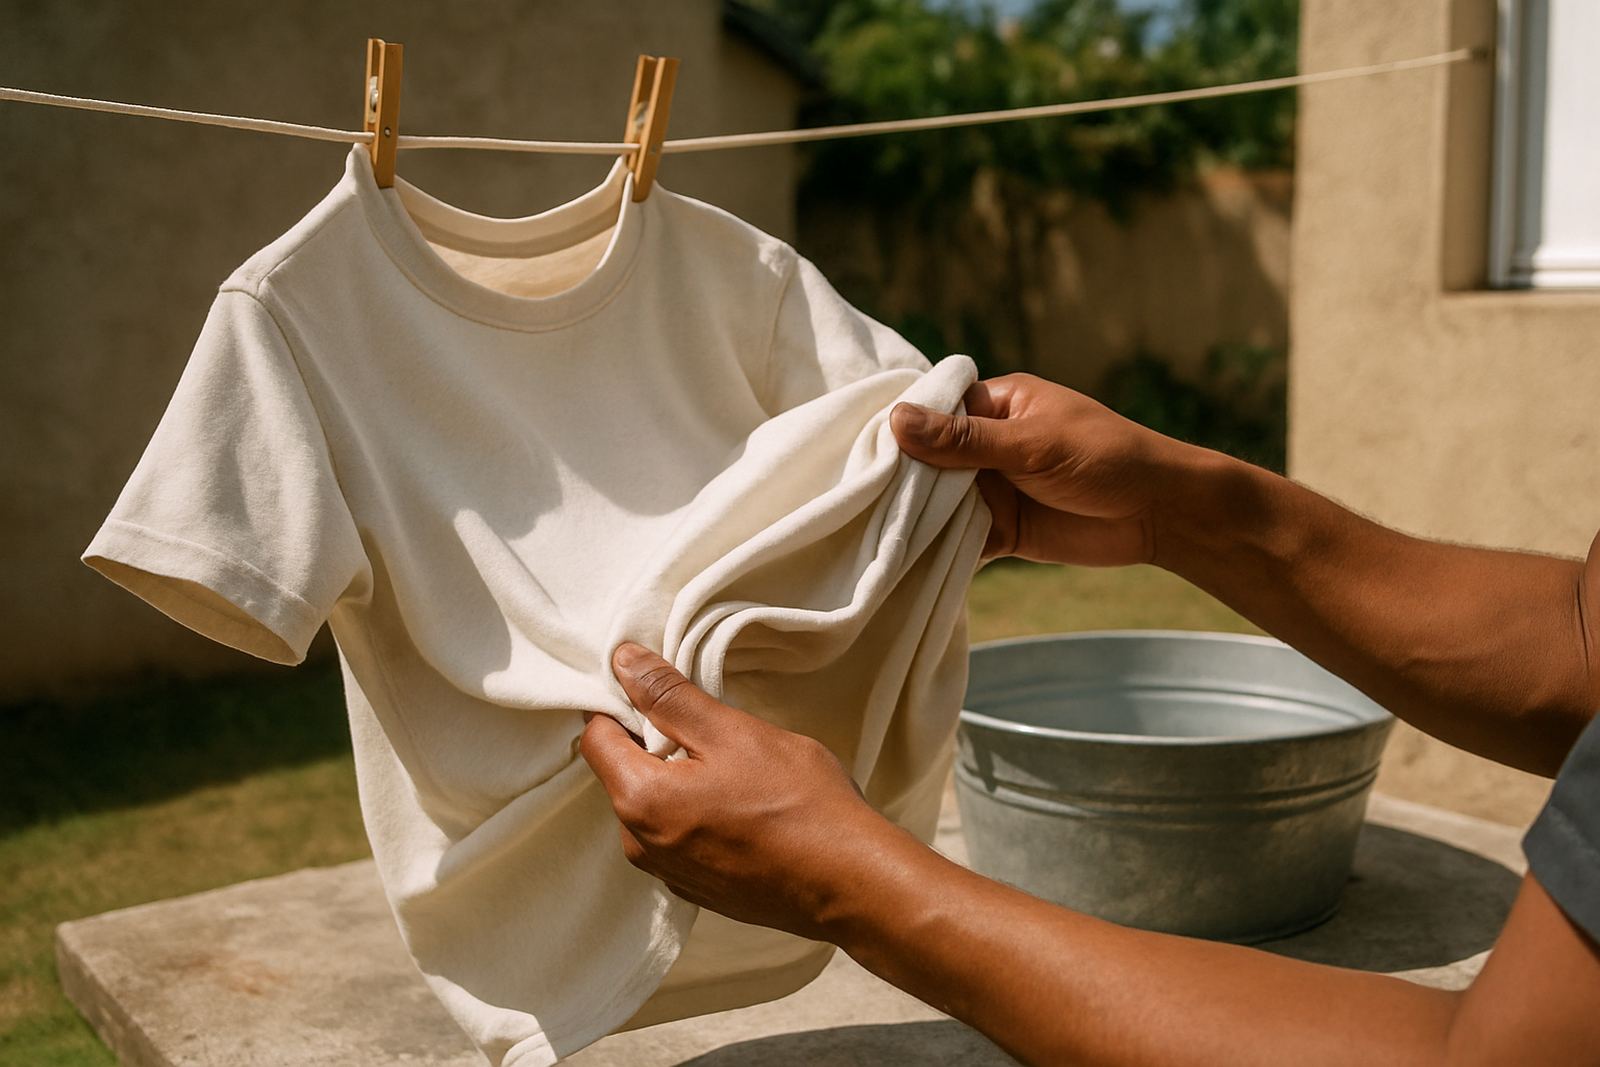
Aftercare is straightforward but important. Fleece should be washed inside out where possible, with mild detergent and no harsh bleaching. High heat drying can flatten the fabric and stress the stitches over time. If the garments are going into daily use, a clear care note helps the embroidery stay neat through the season.
- Ask for a sample if the logo is detailed or the fleece is thick
- Allow time for artwork checks before bulk production
- Keep washing instructions simple for staff or learners
- Plan extra stock for sizing changes and repeat orders
For a practical local example, a school in La Lucia ordering fleece tops for winter sport would usually need the logo scaled for young learners, while a Pinetown workshop might need a heavier chest mark that stays visible under dust and daily wear. The fabric may be the same, but the use case changes the embroidery plan.