
Start with the label, then treat the thread gently
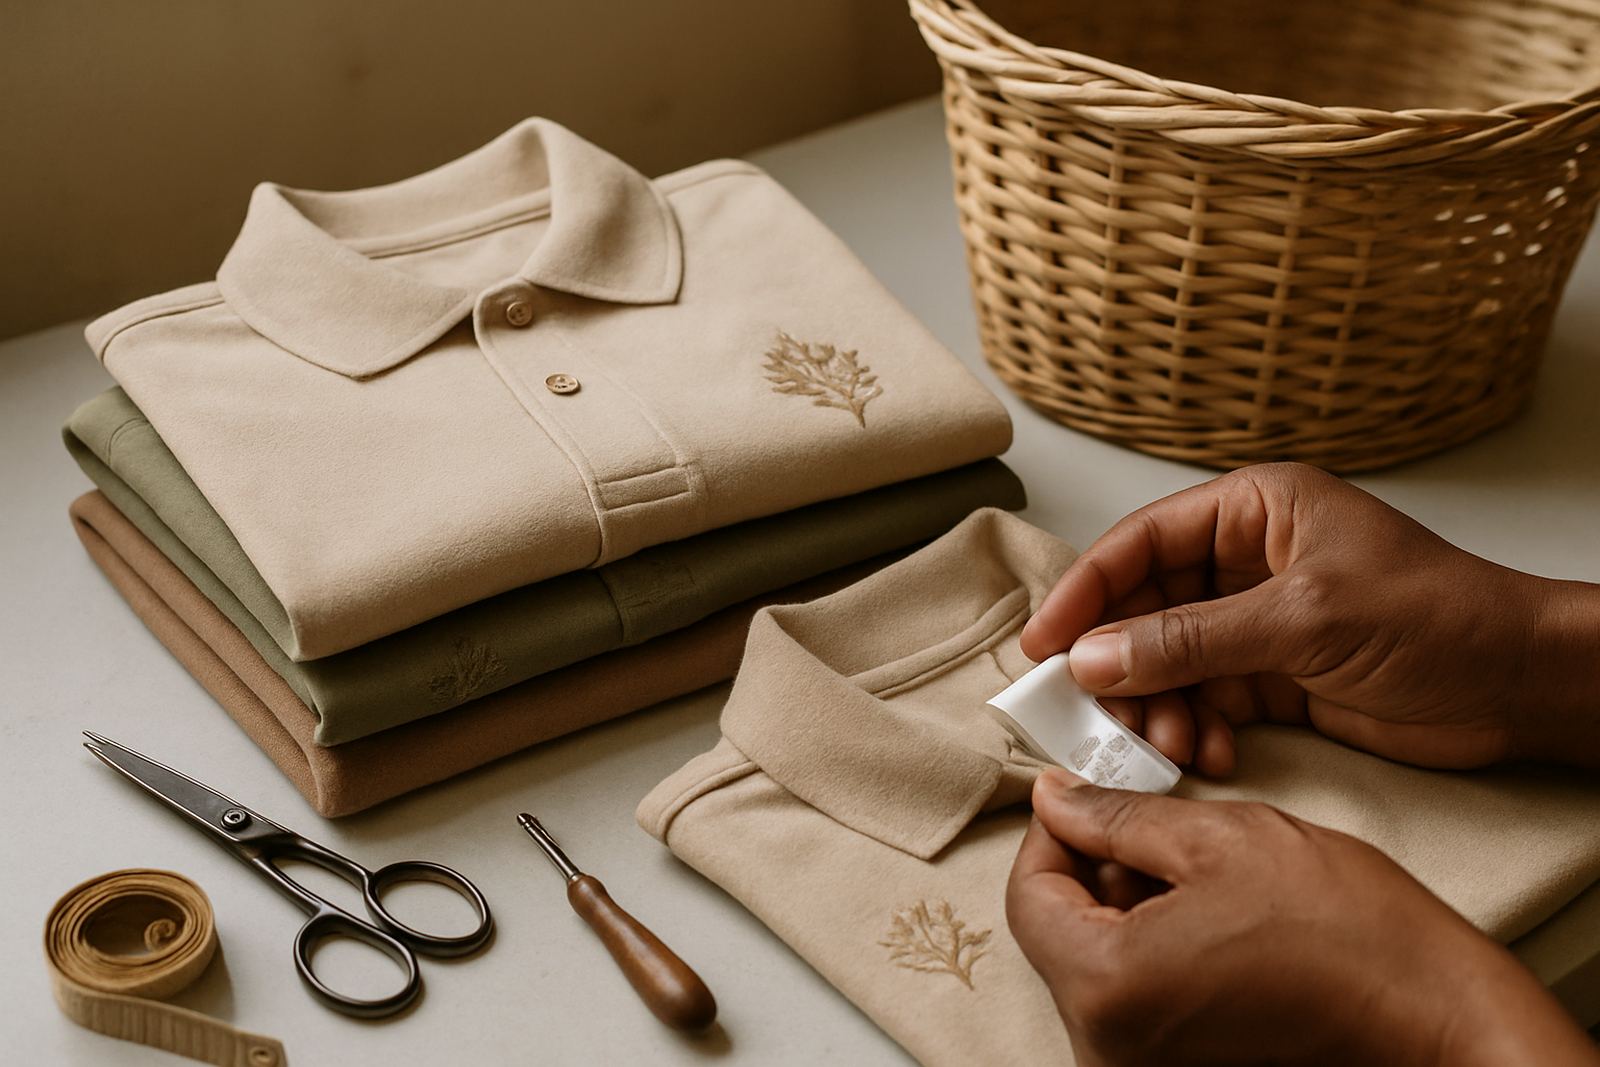
Every embroidered item starts with the fabric it sits on. Cotton golf shirts, polycotton workwear and heavier jackets all need slightly different handling, so the first check should always be the care label inside the garment. If the base fabric shrinks or twists too much, the embroidery can pull out of shape with it.
As a rule, turn embroidered garments inside out before washing. This protects the stitches from rubbing against zips, buttons and other items in the load. It also helps keep the thread colour brighter for longer, especially on dark navy, black and charcoal garments that show wear more quickly. If you are washing a full set for a school, club or staff team, separate light and dark colours rather than mixing everything together in one load.
In Durban North and along the coast, humid air can make garments stay damp for too long if they are left in a pile. That can lead to a musty smell and even mark the thread if the clothing sits wet for hours. Wash it, dry it properly and do not leave it in a closed laundry basket after a sports day or a humid afternoon in Umhlanga.
Washing settings that protect logos, names and badges
Most embroidered clothing does best on a gentle or normal cycle with cool or lukewarm water. Very hot water can stress the garment and may affect some printed trims or fused backing near the stitching. A mild detergent is usually enough. Strong bleach and harsh stain removers should be used with caution, because they can weaken thread and fade the fabric around it.
If a shirt has both embroidery and printing, treat it according to the more delicate finish. That means no rough scrubbing on the logo area and no twisting the garment while it is wet. A soft brush can help with collar dirt or cuffs, but keep it away from the stitched section itself. For sports teams and schoolwear, this matters a lot because those garments are often washed more often than office wear.
- Wash inside out to reduce abrasion on the stitching.
- Use cool to lukewarm water instead of very hot water.
- Keep bleach away from coloured thread and printed sections.
- Do not overload the machine, because crowded loads rub harder against the embroidery.
- Rinse well so detergent does not sit in the thread and leave a chalky finish.
If a uniform is badly stained from mud, food or workshop dust, pre-treat the stain on the fabric around the embroidery rather than scrubbing directly over the logo. That small change can make a big difference to how neat the item stays over time.
Drying the right way after a coastal wash
How you dry embroidered clothing matters almost as much as how you wash it. High heat in a tumble dryer can shrink fabric, soften some stabilised areas and flatten the stitched finish. If you do use a dryer, choose a low heat setting and remove the garment while it is still slightly damp. Then hang it properly to finish drying.
Air drying is often the safer choice, especially in coastal areas like Ballito, La Lucia and Mount Edgecombe where clothing can dry quickly in moving air but still needs protection from direct sun. Strong sun can fade colours over time, particularly on caps and darker polo shirts. Hang shirts on wide hangers so the shoulders keep their shape and the embroidery does not crease in a way that leaves marks.
A useful habit for staff uniforms is to shake the garment gently after washing and smooth the embroidered area with your hand before hanging it. That helps the fabric settle flat instead of drying in a crumpled shape. It sounds small, but it keeps the shirt looking more presentable for client meetings, site visits and school events.
During load shedding, people sometimes rush to dry clothing near heaters, braais or very hot surfaces. Avoid that where possible. Heat concentrated in one spot can dry the fabric unevenly and make the garment stiff around the stitched section. Slow drying is often kinder, even if it takes a bit longer.
Pressing, ironing and storage without flattening the stitching
Embroidery should never be pressed directly with a hot iron. The raised thread texture can flatten, and the base fabric can take on shiny marks. If you need to iron a garment, turn it inside out or place a pressing cloth over the embroidery. Use a medium heat setting and keep the iron moving rather than sitting in one place.
For caps, avoid crushing the front panel under heavy items in a cupboard or laundry bag. Caps keep their shape best when stored on a shelf, hook or peg. If a cap has a structured front and embroidered logo, rough storage can bend the brim and distort the stitch line. For uniforms that are worn weekly, hanging them is better than folding them tightly into a pile.
- Do not iron straight onto embroidery.
- Use a pressing cloth if the garment needs a smooth finish.
- Store caps where the front panel will not be crushed.
- Keep embroidered jackets and shirts on hangers, not stuffed into a drawer.
- Make sure clothing is fully dry before storing it away.
It is also worth checking garment labels for any special instructions on coated fabrics, brushed fleece or stretchwear. Some items need a cooler iron than others, and if the cloth has a water resistant finish, heat can damage it fairly quickly.
When a logo needs extra attention after regular wear
Even well-cared-for embroidery will eventually show signs of regular use. You may notice loose threads at an edge, slight puckering on thin fabric or dirt trapped in the stitch texture. Do not pull at loose threads with force, because that can unravel more than you expect. Trim only the clearly loose end if needed, and be careful not to cut into the stitch line.
If an item is used daily for school, hospitality or site work, it helps to inspect it every few washes. A small snag caught early is easier to manage than a wide pull across a logo. This is especially important for lighter-weight golf shirts worn in busy environments across Westville, Pinetown and central eThekwini, where uniforms are washed often and moved through a lot of different settings.
For teams ordering bulk uniforms, it helps to keep spares aside for the busiest days. Rotating between two or three shirts per staff member reduces wear and gives each garment time to rest between washes. That little bit of rotation can add months to the life of the embroidery and the shirt itself.
A practical routine for schools, clubs and business uniforms
A simple routine often works better than trying to be perfect every time. For schools, clubs and companies, the main goal is to keep garments presentable and comfortable while protecting the stitched branding. If one person is responsible for laundry at home or on site, a clear routine helps prevent damage from rushed washing.
A good routine for embroidered clothing is: empty pockets, close zips, turn garments inside out, wash with similar colours, dry properly and store on hangers. For promotional clothing used at events or expos, check the logo before the next wear so any dirt or snagging can be sorted out in time. This is especially useful before a Monday opening meeting or a weekend function, when people often notice clothes only at the last minute.
- Sort embroidered garments by colour and fabric weight.
- Spot clean stains before the wash, not after they have set.
- Dry shirts out of direct sun where possible.
- Keep a few spare uniforms in rotation for heavy-use roles.
- Inspect logos regularly for loose threads or wear around the edges.
With a bit of routine, embroidery can stay crisp and professional long after the first wear. That matters whether the clothing is for a restaurant team in Umhlanga, a school sports group in Hillcrest or a business crew moving between meetings and deliveries across Durban North. Good care does not need special equipment, just steady habits and a watchful eye.