
1. Start with the event goal before choosing items
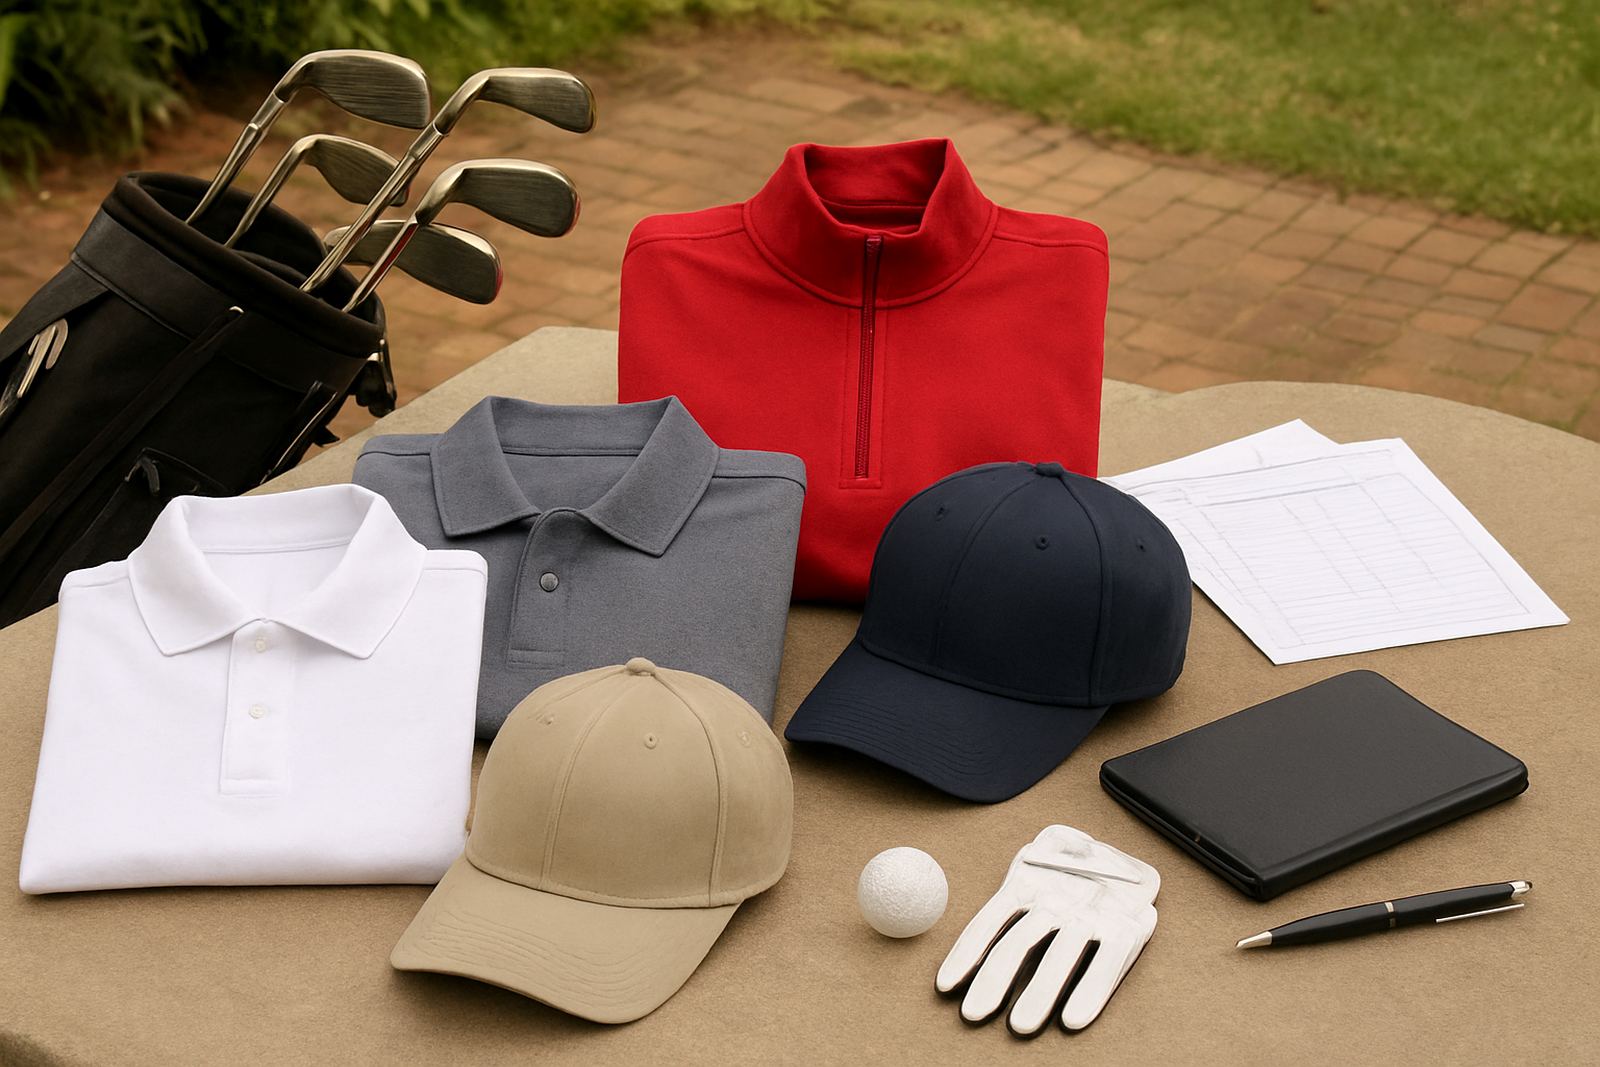
Before you order anything, decide what the event must do. A school open day needs quick recognition. A sports day needs strong team colours. A trade show needs a clean, professional look that keeps people moving to your stand. Once the purpose is clear, it is easier to choose the right mix of embroidered golf shirts, printed tees, caps and branded hand-outs.
We usually advise clients to think in three layers: what staff wear, what the stand or area shows, and what visitors carry away. If all three match, your brand is easier to remember. If the items fight each other, the message gets lost. That matters even more in busy venues around Durban North, Umhlanga or Pinetown where people make decisions in seconds.
- Decide the main audience: customers, parents, members or sponsors
- Choose one lead message, such as a logo, event name or product line
- Match colours to your brand and to the venue lighting
- Set a deadline for artwork approval, production and delivery
2. Use apparel to make your team easy to spot
Apparel is often the first thing people notice. Embroidered golf shirts work well for staff, supervisors and volunteers because they look neat and hold up well through repeat use. Printed shirts are useful for larger teams, one-day events and promotions where you need a clear visual from across a room or field.
For coastal areas like La Lucia, Mount Edgecombe and Ballito, it is worth choosing fabrics that handle humidity and frequent washing. Dark colours can show salt and sweat more easily, while lighter colours stay cooler in the sun. Caps are also useful for outdoor events, especially where staff spend long hours on foot or near loading areas. With load-shedding still affecting many venues and operations, it helps to plan your branding early so there is no rush when power timing changes or production windows tighten.
- Use embroidery for a formal finish on collars, chest logos and caps
- Use screen printing or heat press printing for bigger artwork areas
- Order extra sizes for new staff, temps and last minute helpers
- Keep a spare set of uniforms for spills, rain or quick changes
3. Build a stand that gives people a reason to stop
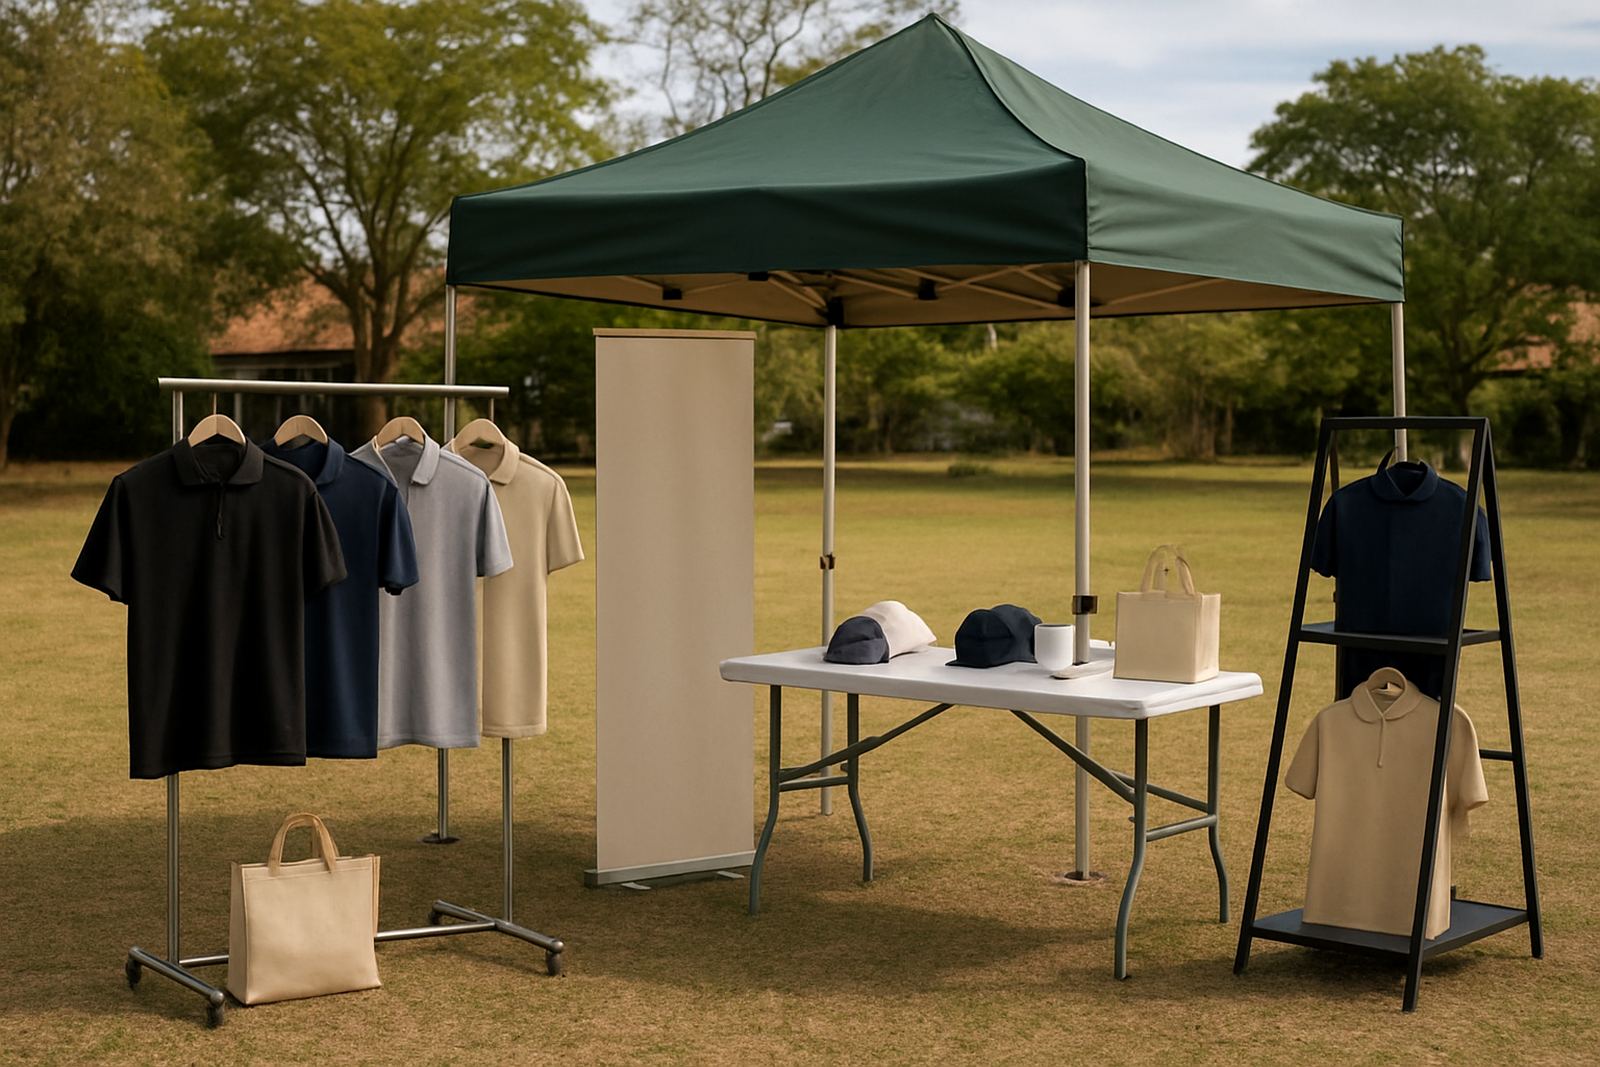
A branded stand should be readable from a distance and clear up close. Start with the largest item first, such as a backdrop, table cover or pull-up display if the venue allows it. Then add smaller items like branded pens, notebooks, water bottles or lanyards. The aim is not to cover every surface, but to make sure the stand looks tidy and intentional.
In eThekwini venues, especially schools and community halls, space can be tight and access rules can be strict. Check table sizes, wall permissions, fire exits and whether tape or pins are allowed on surfaces. If you are working outdoors, think about wind, sunlight and rain. A sign that looks fine in the workshop can become hard to read in bright afternoon light or blow over on a windy day.
- Measure the stand area before artwork is finalised
- Keep the main logo high and the contact details large enough to read
- Use a simple colour range so the space does not look crowded
- Pack weights, clips and extra tape for outdoor or unstable setups
4. Choose giveaways people will actually keep
Promotional items work best when they are useful. A branded pen, notebook, mug, cap or tote bag gets repeated exposure long after the event ends. The best giveaways are the ones people use at work, at school, at home or in the car. If the item is too flimsy or too generic, it can end up in a drawer.
Think about who is receiving the item. For a corporate event, practical items often work better than novelty pieces. For a school fundraiser, low-cost branded items may need to be packed in volume. For a club or sports day, a cap or water bottle may get more daily use than a small handout. We can also assist with sample runs, which is useful when you want to check print clarity before placing a bulk order.
- Choose items that suit the weather and the venue
- Make sure the logo size matches the item size
- Use one colour palette across apparel, displays and giveaways
- Plan the quantity based on expected attendance, not hopeful attendance
5. Check artwork early so production stays on track
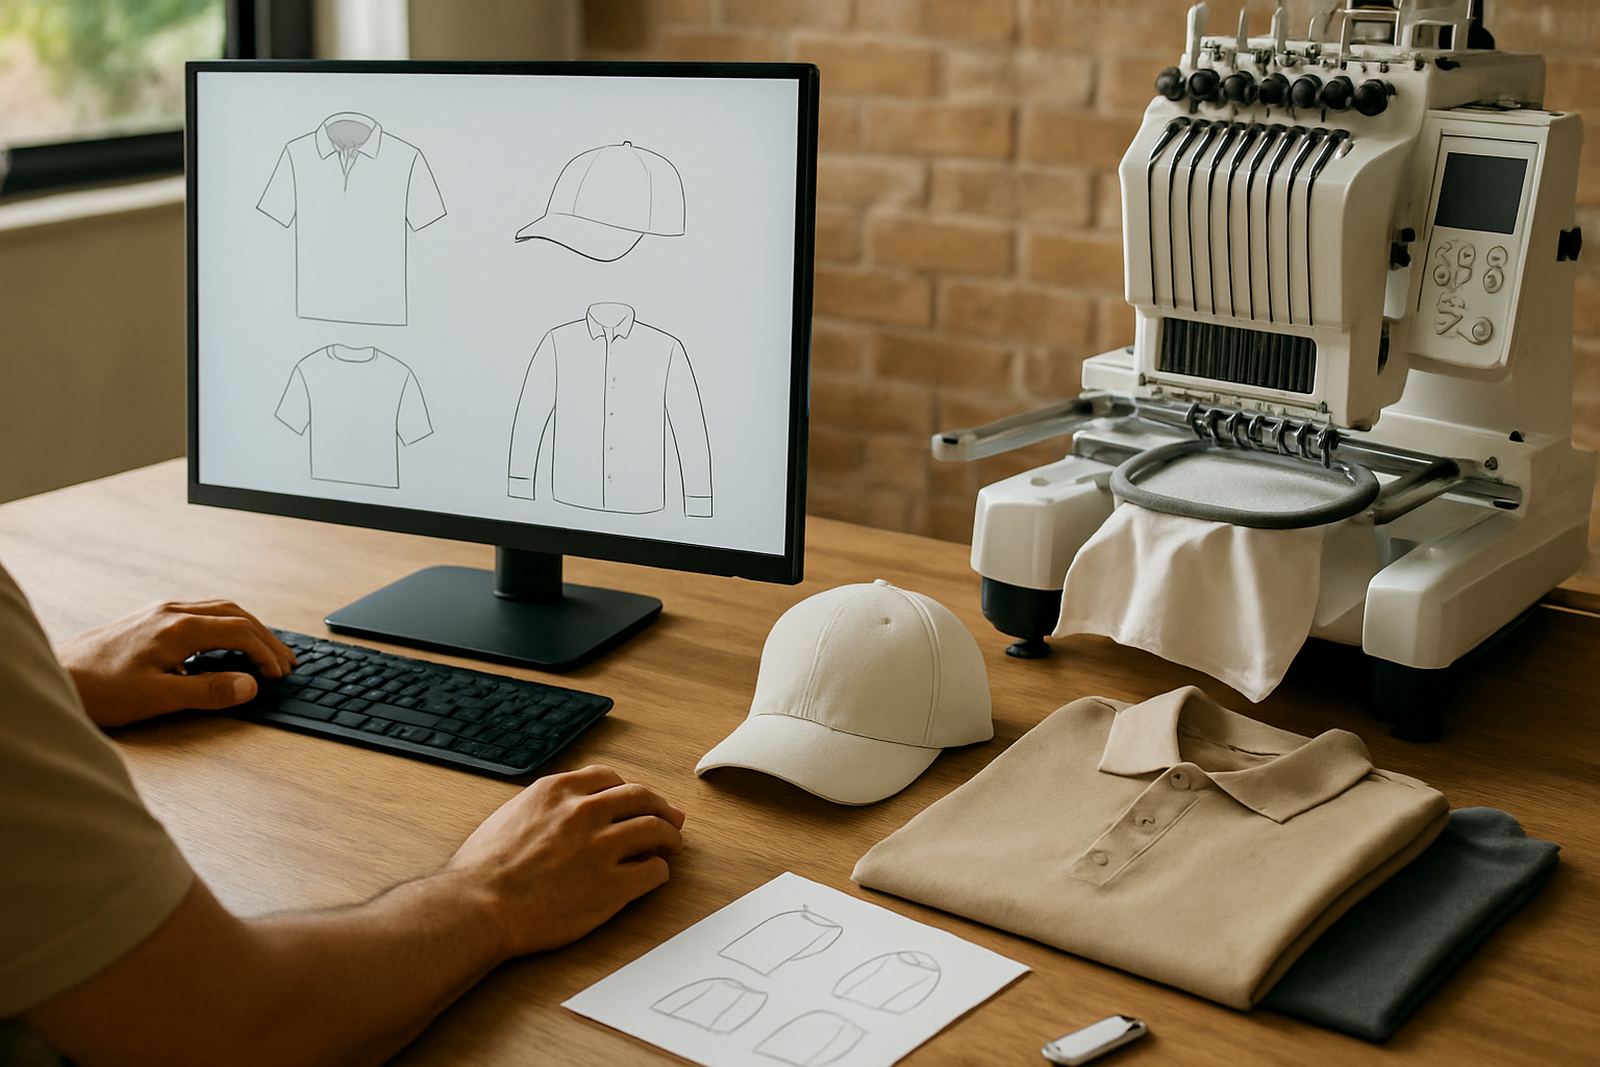
Artwork checks are one of the most important parts of event branding. A logo that looks fine on screen can become hard to read when stitched, printed or reduced for a pen. That is why digitising matters for embroidery. It turns your logo into a format that the machines can handle cleanly, with stitch direction and detail set properly for the fabric.
When the event date is close, small mistakes can cost time. Blurry logos, low resolution files, missing colours or the wrong spellings can all delay production. We work from in-house digitising and can advise on the best method for each item. For urgent events, an optional 24-hour turnaround may be possible depending on the order size and artwork readiness, but the cleanest results always come from early approval.
- Send your final logo in the best quality available
- Check spelling, dates and sponsor names before approval
- Confirm colours, garment sizes and item quantities upfront
- Allow time for stitch tests or print checks on first orders
6. Pack, deliver and set up with less stress
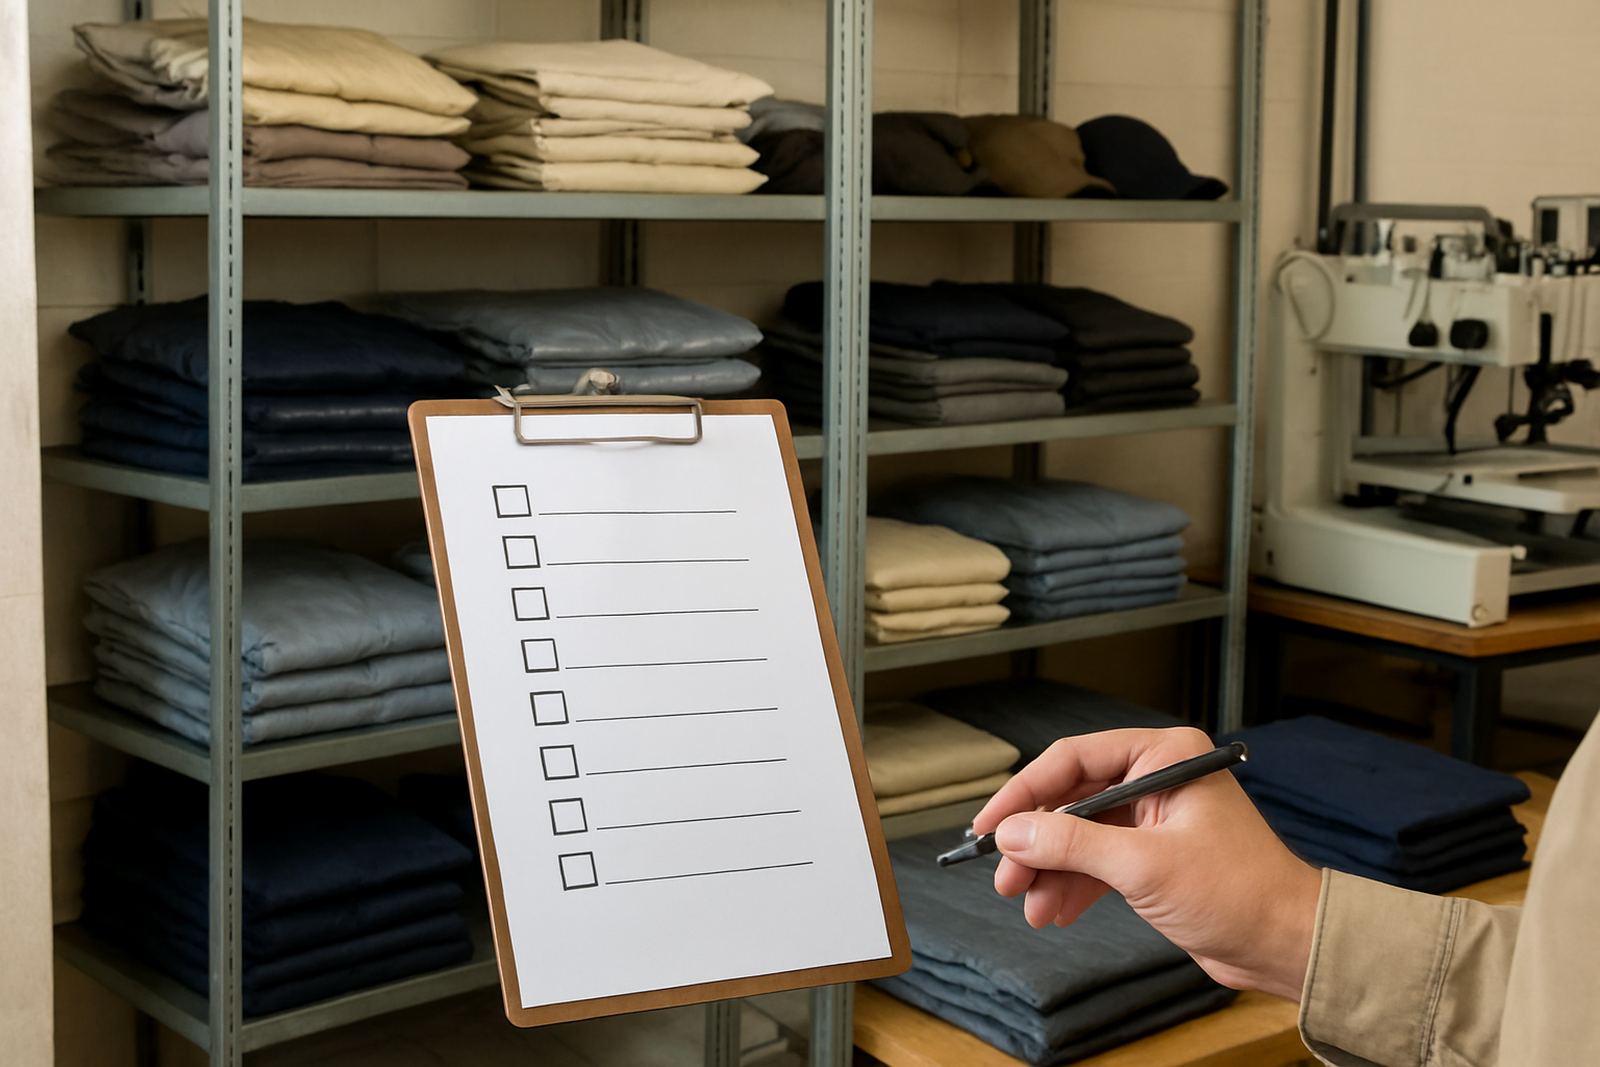
The final stage is often where event branding either works well or creates unnecessary pressure. Items should be packed in order by size, staff role or distribution point. That makes setup faster and helps avoid mix ups on the day. For larger events, a labelled packing list saves time when multiple people are unpacking at once.
We also recommend planning delivery around the venue access times and municipal or school rules. If a site has limited loading access, a narrow time window or no overnight storage, that needs to be built into the plan. In places like Westville, Hillcrest and Pinetown, where event venues can vary from school halls to business parks, delivery timing matters just as much as the branding itself. A good plan means less running around and fewer last minute calls.
- Label boxes by department, team or display area
- Keep one spare set of each key item aside
- Confirm who receives stock on site and where it should go
- Check the venue rules for setup times, parking and unloading